Thursday, October 29, 2015

Atomic 3000 LED Unique Abilities

 
The Martin Atomic 3000 LED is an incredible piece of technology.  It is an amazingly bright LED based version of the original Atomic 3000 DMX strobe.  But it goes far beyond what the original could do, and not just in terms of reduced power consumption.  You can even connect the Atomic Colors scroller to the new unit and plug it directly in without the need for an external power supply!  The Martin engineering team added many more unique abilities to provide designers with a large range of creative options.


The Atomic 3000 LED strobe includes an amazing Aura Backlight feature that not only allows the designer to glow the reflector in any color from the RGB LED's, but also provides a plethora of stunning animated effects.  The programmer has full control of the effect selection, speed, and color to create some wonderful never-before-seen looks.  Now the Atomic 3000 LED strobe can be used in ballads and more as it becomes a beautiful accent addition to the set or lighting rig.


One of my favorite software innovations in the Atomic 3000 LED is the ability to toggle between output modes called "LED" and "Xenon Emulation".  This setting changes the behavior of the primary LED's as they illuminate.  When set to LED mode, the LED's behave as expected from an LED source and simply turn on/off at a defined rate.  A crisp clean strobe or ON state is emitted from the unit.  However, when the Atomic 3000 LED is set to Xenon Emulation mode, the LEDs will rapidly pulse whenever activated (strobing or ON).  This behavior perfectly mimics the original Atomic 3000 DMX xenon lamp that could never achieve a true ON state.  Exciting cue building is easy with this simple DMX setting.

Martin engineers have also created another unique mode in the Atomic 3000 LED called House-light mode.  This too can be activated via DMX and it serves two purposes.  First, it reduces the total output thus allowing it to remain on for an unlimited timeframe.  During this state, strobing, continous on, dimming and more are all possible.  Furthermore, when set to House-light mode the Atomic 3000 LED will retain its last state when DMX is removed from the unit.  This allows operator to turn on the units (in a solid ON state) at the end of a performance and utilize them to illuminate the venue.  Then the lighting console can be turned off and the Atomic 3000 LED units will remain on.  They will only shut off when power is removed or DMX is reconnected and a new setting sent.  This is an extremely useful feature in many situations as it allows stand alone operation and bright white illumination.

The Martin Atomic 3000 LED is poised to be an industry workhorse much like the original Atomic 3000 DMX strobe.  The added creative and technical innovations delight designers, programmers, and technicians.  Take a look for yourself...
https://youtu.be/lOQuMFXzohg

Thursday, October 15, 2015

Making Moves with the Rush MH 6 Wash

Many people mistakenly believe that the Martin Rush line is primarily a DJ line of products, in fact most of the fixtures are ideal for any type of production.  For instance, the Rush MH3 Beam and  Rush PAR 2 RGBW Zoom have been extremely popular in all genres including concerts, theater, corporate events, houses of worship, clubs and more.


Following on the popularity of the Rush PAR 2 RGBW Zoom, the new Rush MH 6 Wash is basically the same unit, but on a moving head.  This means the stunning optics, zoom capability, and color mixing that everyone loves about the PAR 2 RGBW Zoom is now available with pan & tilt movement!  This gives Martin a full line of LED moving head wash units that range from 2,000 lumens to over 15,000 lumens!  Now every LD has choices no matter the fixture size and output requirements.


The Rush MH 6 Wash uses 12x 10W RGBW LEDs and a 10°–60° zoom to create a really nice beam or wash of light.  The movement can range from really fast to slow-and-smooth, and with a weight of only 15.7 lbs. (7.1 kg) it is easy to transport and rig.  The fixture includes the ability for pass thru power using Neutrik PowerCon connectors, and to round it all out the Rush MH 6 Wash is available at an incredibly reasonable price.


Don't just take my word for it, check out the video below to see the Rush MH 6 Wash in action!
https://youtu.be/ON0VeXdYuLU


Thursday, October 8, 2015

Mighty M-Touch Modes

The Martin M-Touch controller for M-Series products can do many amazing things.  I detailed a bit of it in a previous post and now I want to highlight a specific function.
The M-Touch can be used for both programming and playback operations through its dedicated buttons and Force Touch faders.  Just right of center on the M-Touch you will find two rows of buttons that can easily change their function as needed.

Before explaining the functions in detail, lets look at how you can change the mode of these buttons.  At the top you will find a pad with four labels: Play, F-Key, Base, and FX.  A red LED will indicate which mode is currently active.  As you touch anywhere in this rectangular pad, the function (and LED) will toggle between two of the modes (Base/FX or Play/F-Key).  To change to the second pair of options, simply press and hold in the rectangle area for 2 seconds.


When this section of the M-Touch is set to Base, then the 10 buttons map directly to the fixture attributes displayed in the Fixture Parameters screen.  As you toggle between the various attributes, the four programming Force Touch faders will also change to control specific parameters of the selected light(s).


Note that in this mode the ten M-Touch buttons will only access attributes shown on the left row of the attributes in the Fixture Parameters screen.  This means fixture specific parameters only.  To access the attributes shown on the right side of the attributes section (FX, Grouping, Rate) you will have to toggle these M-Touch buttons to the FX mode.


Now the 10 buttons on the M-Touch are mapped to the FX attributes as shown in the Fixture Parameters screen.  As you change between the buttons, the screen and programming fader purposes will change accordingly.  Remember that in both the Base and FX modes, the M-Touch buttons are mapped to only one type (Base or FX) and are oriented from top-down left to right as if in one long list.

When these buttons are placed in the Play mode, they act as an additional 10 playbacks per page!  These are very similar to the Playback Pairs on the  M6 or the quick playbacks on the M1.  You can store, edit, modify and playback anything here.  Note that you can press and hold the Select button on the left side of the M-Touch and then press any of these 10 playback buttons to select as the main cuelist.

The F-Key functionality of the M-Touch allows these 10 buttons to map to the first 10 Programmable Buttons you have assigned.  This is great for changing views selecting groups, presets, banks or many other commands.  Just like with a console, you can press and hold Edit on the M-Touch and select a F-Key to edit its ability.

I love how quick and easy it is to change the mode of these 10 buttons.  You can easily assign them to many different purposes and toggle as needed during your workflow.  With these buttons and more, the Martin M-Touch is a very affordable and extremely useful controller.  And don't forget that it can be used with M-PC as well as any of the M-Series controllers.

Thursday, October 1, 2015

Offline Prepping with P3-PC

The Martin P3-PC software is a wonderful tool that can be activated with a Martin One-Key to control up to 20,000 pixels of Martin LED products.  It is also usable as a free tool to prepare and pre-program systems that will use any of the P3 Controller products.  You can actually do quite a lot with the software without a One-Key and then simply load your configuration file into a P3 processor.

First, you need to download and install the free Windows based software from the Martin website.  Then start it up, select off-line use and start a new configuration.  The first step after naming your file is to select the minimum dot pitch that will be used in your display (you can also select a specific fixture/screen by name if you are unsure).

Next you will be asked to set the Maximum Workspace Area or the total number of pixels that will be within your control.  After making this selection and clicking Finish you will be presented with the main P3-PC screen.

I am not going to go into the full details of how to use P3-PC, for this you can follow the user manual, however it is important to know that it is very simple to use.  Basically you select your fixtures/screens from the list and drag them onto the workspace area.  You can move them about to match your set or desired layout.  There are many tools and wizards to help you add and manipulate your fixtures or screens.  In fact, you can even import an image to use in the background to help you match your desired layout.  In the image below you can see where I imported a basic DJ layout and started to layout my VDO Sceptron 10 units.

The power of being able to prepare and pre-program your video layouts on any PC is incredible!  The P3-PC system really makes the entire process easy.  In fact, when you arrive on site and connect to the actual rig, there is a simple process that lets you quickly highlight and select your fixtures so that they are instantly mapped correctly to your layout.

All the above mentioned features are available offline on the P3-PC system or directly from any P3 System Controller.  Plus remember that with the Martin One-Key you can use the P3-PC software as a full functioning controller too.  The P3 range of Video Processing Controllers are extremely powerful yet easy to use.  They work well with all previous, current, and future video products from Martin Professional.

Thursday, September 17, 2015

MAC Viper Used as a Followspot


Quite often LD's find it handy to utilize a moving light in place of a truss spot.  This allows full DMX control of all the fixture's attributes while allowing an operator to manually position the unit.  Martin Professional patented a system for doing this with the Martin MAC III and some customers have asked about doing the same with the Martin MAC Viper Profile, MAC Viper Performance, and MAC Viper AirFX.


While a dedicated spotlight mode does not exist in the Viper range, there is an approved method for using the fixtures as followspots.  You simply have to place the fixture into Service Mode.  This will disable the pan/tilt motors and allow all the other functions to behave normally via DMX.

In order to do this, you simply need to press and hold both the Escape Button (C) and the Jog Wheel (B) when powering on the unit. 

Then the display will show a  "Service" warning.  At this point the power will be removed from the pan/tilt motors thus allowing you to move the head freely.

It is important to note that a power cycle will disable the Service Mode.  If you send the unit a Reset command from DMX, it will reset all the functions other than pan/tilt and remain in the Service Mode.


So now you know how to configure your Martin MAC Viper fixture for use as a followspot.  Have fun with this and be sure to wear gloves when manually moving the fixture head as some parts of it can be rather hot!


Thursday, September 10, 2015

A Visit to Martin Headquarters

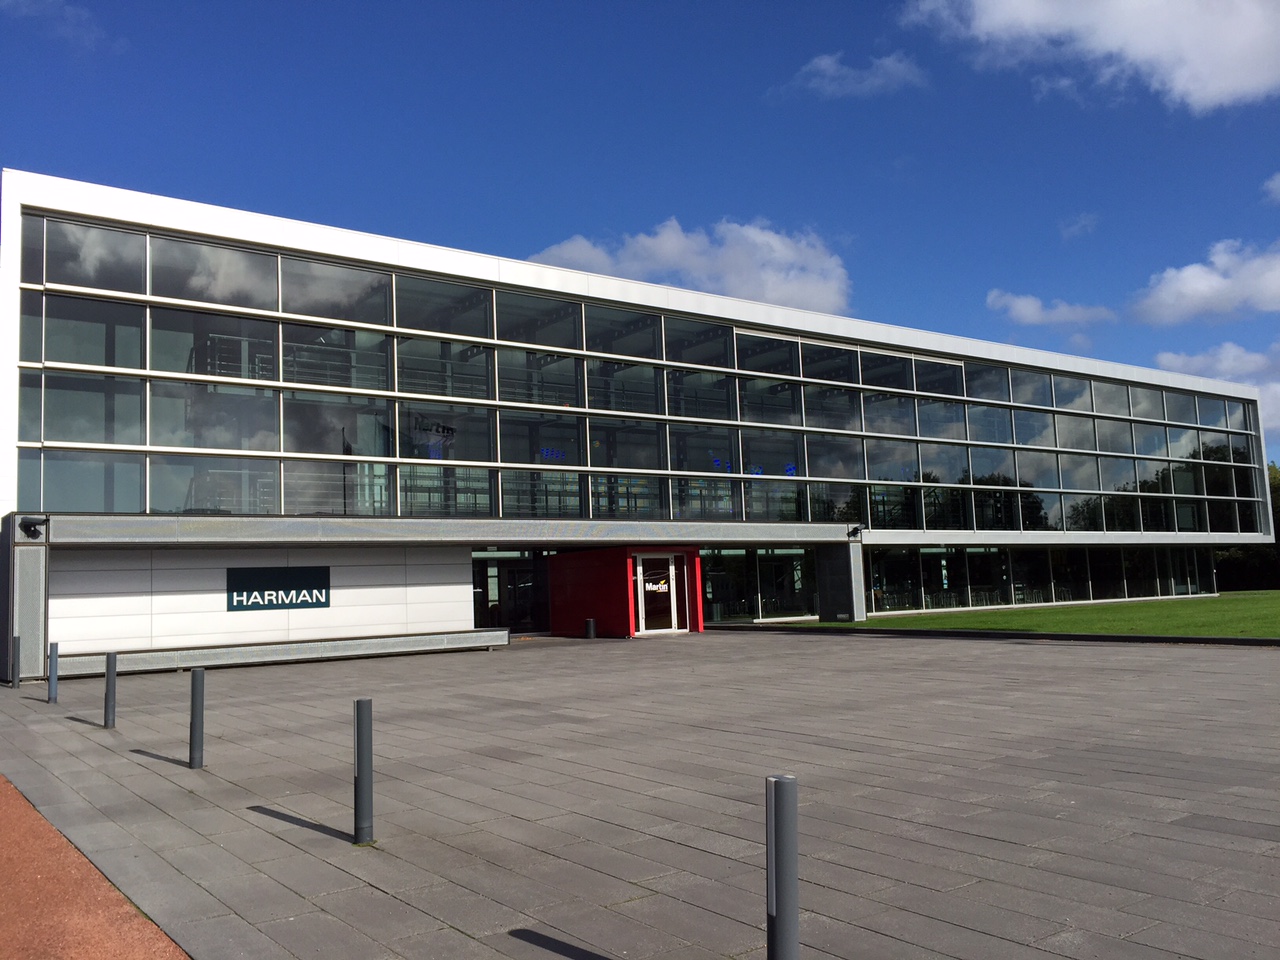
I recently had a chance to visit the Martin Professional headquarters in Aarhus Denmark.  It is quite a remarkable place with many interesting points and a wonderful staff.  If you are ever in Denmark, you should plan to make the short trip to the office to see the headquarters. 
Martin HQ on a Sunny Day

The Center Courtyard
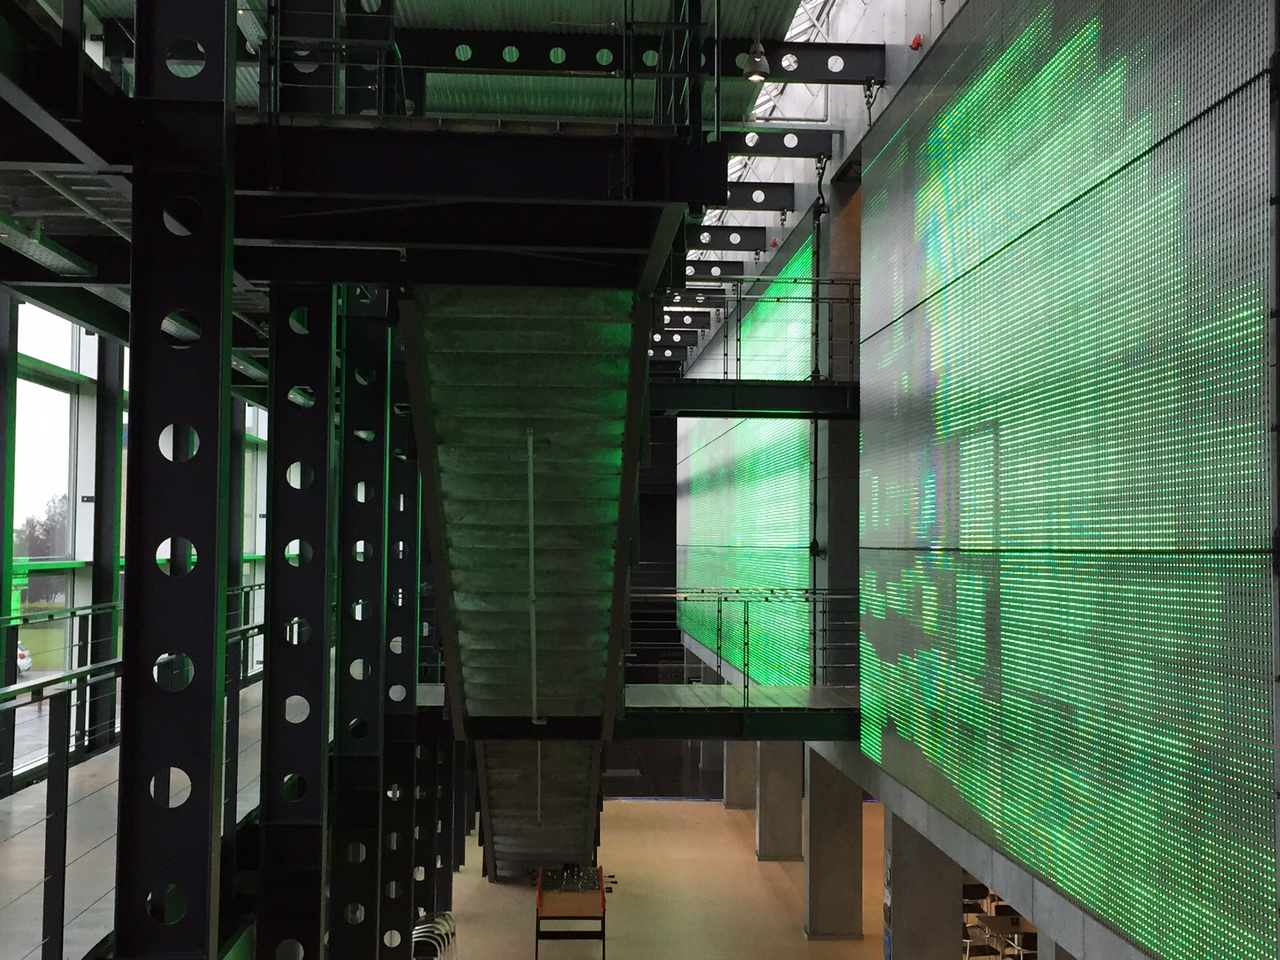
Inside the building there is tons of things to see and do.  Many departments have offices here including R&D, Product Management, Sales, Support, Design & Application, Marketing, Management, Product Testing and much more.  The entire environment is built to emphasis innovation and cooperation.
The Front Lobby
Turn Left Here to Enter the R&D Department
An Inspirational Marketing Meeting Room
The Martin Evolution Gallery is an amazing showcase that provides the history of Martin through a grand display of products and an informational timeline.  It is fun and amazing to see all the products and particularly to remember the ones that you worked with and the past types of products Martin has created.
The Martin Evolution Gallery
The Starlight is Martin's First Moving Head
A Small Sampling of Some Great Products
 Also located within the headquarters are two areas to demonstrate all the current (and coming soon) products.  There is a Demo Room, which is a hands-on area where products can be shown as well as training and experimentation are possible.  Then there is a large Showroom that contains a very impressive rig and a large theatrical style seating area.  Here very creative demos are played that demonstrate the abilities of all the products working together.


The staff at the Martin headquarters is very accommodating and happy to provide tours of the massive 3+ story building.  There are many more surprises within the walls as well, some of which are only for employees, but anyone visiting the office will be thrilled by the experience.
Martin MAC 2000 #100.000

Wednesday, August 19, 2015

M-Touch Control

The newest console device for the Martin M-Series line of control consoles is now available, and it is really cool!  The M-Touch is a unique control surface that can be used for both playback and programming when combined with M-PC software or any M-Series console.

The surface of the low-cost controller has new-to-lighting technology utilizing Force Sensitive Resistors (FSR) on both flash keys and faders.  This allows surprising control possibilities based upon velocity and pressure.  In addition there are other touch sensitive keys and even a 5-pin XLR for DMX output.  You really should get your hands on an M-Touch as it is quite a powerful tool when combined with M-Series software.

One of the great features is that the M-Touch can be used with M-PC or used as a wing to any M-Series console.  In fact, you can even connect multiple M-Touch devices into any single system.


In order to do so, you will need to do a bit of configuration.  In the M-Series Menu, click on System then DMX Settings.


Now at the bottom of the screen select the USB2DMX tab and now you will see the M-Touch device (assuming you plugged it into your console/PC) on the top left of the screen.

On the right side of the screen are some options and here you can set the DMX universe to output from the 5-pin XLR (universe 1-4).  You can also set the Wing ID.  If the ID is set to 0 (the default) then it will mimic the first 10 faders on your desk.  If you set it to a higher number, then it will behave as a separate wing from the faders on your desk.  You can now change banks on the M-Touch and console separately!

The M-Touch is an amazing control option and very reasonably priced too.  Check out the videos below for more information and stay tuned for another blog post with some advanced functions of the M-Touch.
https://youtu.be/wLW7ID7zqu8

https://youtu.be/VN0F9beNTtU